Domain Nameservers of Your WordPress
Altering the nameservers of your WordPress website’s domain is actually quite easy. For that, you would only have to follow a few simple steps.
Table of Contents
Here, we will tell you about how to change domain nameservers in two of the most popular domains out there in the market. So, let’s get started with it.
Godaddy
If you have been in the scene of the domains, then you probably have heard about GoDaddy. It is currently one of the largest and most successful website hosting companies out there in the market.
So, do you own a domain of GoDaddy and want to change its nameservers? Then, here are a few steps that you need to follow to successfully do your task.
1st Step
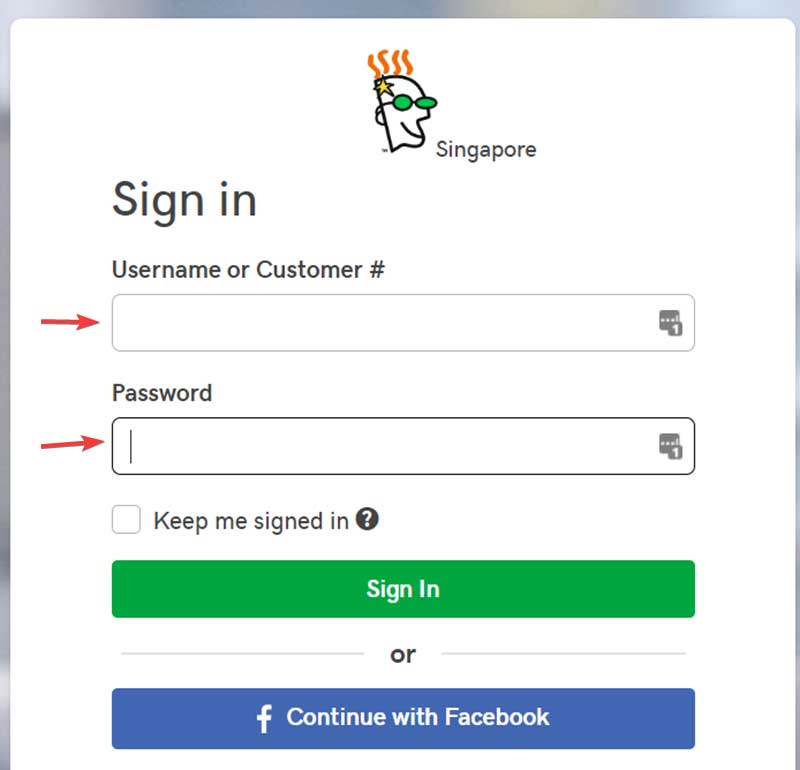
Firstly, you would have to enter the official website of Godaddy.com. Then, you will need to enter your credentials in the login page, namely the username and password and click on the Sign In button. It will take you directly to your account that you had made while buying the domain from them.
2nd Step
Now, you will be able to see a long menu where all of your domains are listed in a horizontal manner. On the right side of the page, you will find three different options, which are Add Privacy, DNS, and Manage. From these, you will have to click on the Manage option.
3rd Step
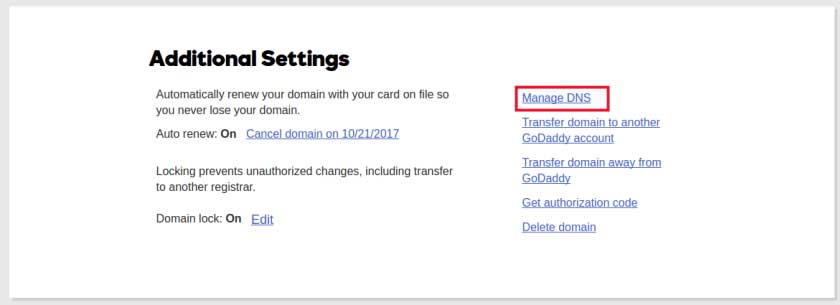
After clicking on that, you will be redirected to a new page called Additional Settings. On this webpage, you will be able to find an option called Manage DNS. Now, click on it.
4th Step
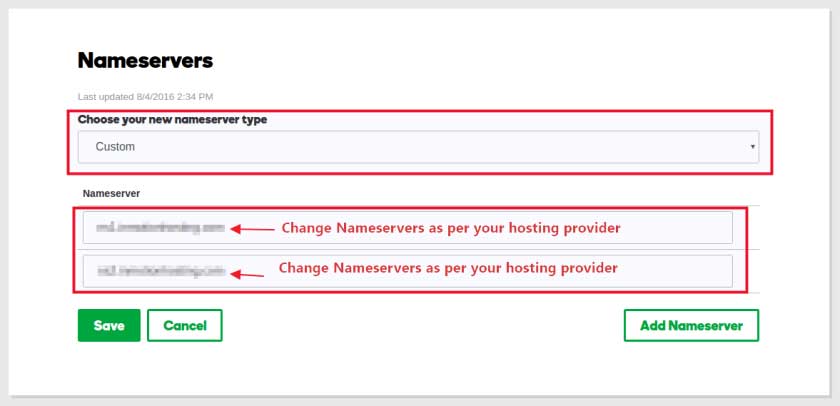
Once you have clicked on it, a new page will open again. Here, you can find the option of Nameservers. Now, you will have to click on the Change button, which will be located right beside it.
5th Step
Then, you would have to switch the dropdown menu to Custom from Default. This will enable you to edit it. Now, in the blank section, you will have to write the new nameservers that your web hosting provider has given to you.
Resellbiz
Like GoDaddy, Resellbiz is yet another popular domain seller. So, if you have bought a domain from here and want to change domain nameservers of it, then here is what you need to do for that.
Step: 1
Go to the official website and sign in your account by providing the credentials. Then, you would have to locate the control panel of the website and go there.
Step: 2
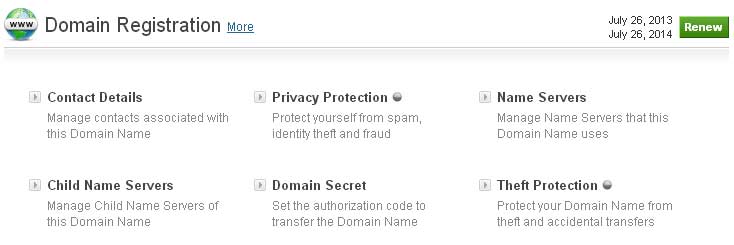
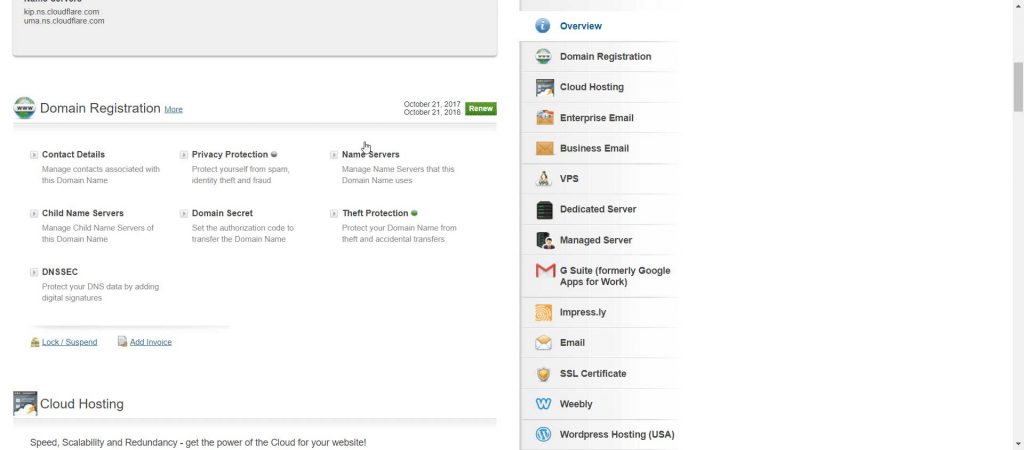
After you have entered the control panel, you will be able to find an option called Name Servers. Now, you will have to click on it.
Step: 3
Now, all you need to is to write the new nameservers and click on the option named Update Name Servers.
That’s all you need to do really for changing the nameservers of Resellbiz.
So, these are the steps that you need to follow for changing the name servers of your website.

