If you have a WordPress site and you visit Admin Dashboard regularly, at some point, you must have felt the urge of customizing the WordPress Dashboard and get options as per your usefulness.
Table of Contents
The dashboard that WordPress provides is just a collection of widgets. There are various ways by which you can customize the WordPress Dashboard and make it the way you like to have. You can customize the WordPress dashboard with or without code.
By customizing your dashboard, you make it look better so that you get inspired to work every time to visit it.
But most importantly, it optimizes the speed of your work as all the different most-used options could be on the Dashboard to access them instantly. The following are the different ways to customize the WordPress Dashboard.
How To Customize The WordPress Dashboard Using Screen Option –
Go to your Dashboard, and you will see the option ‘Screen Options’ on the top right of the window. Click on that, and the drop down menu will appear with heading ‘Boxes’.
You will see that those checkboxes that are enabled are showing as widgets on your Dashboard. You can disable the widgets that you do not want to see by disabling the checkboxes corresponding to them.
When you are at the initial phase of Your WordPress site, you could have limited options under screen Options.
But as you go on to add more plugins for your website, you will see that you will have more useful options that you can enable to avail the corresponding widgets on the Dashboard.
Drag And Replace –
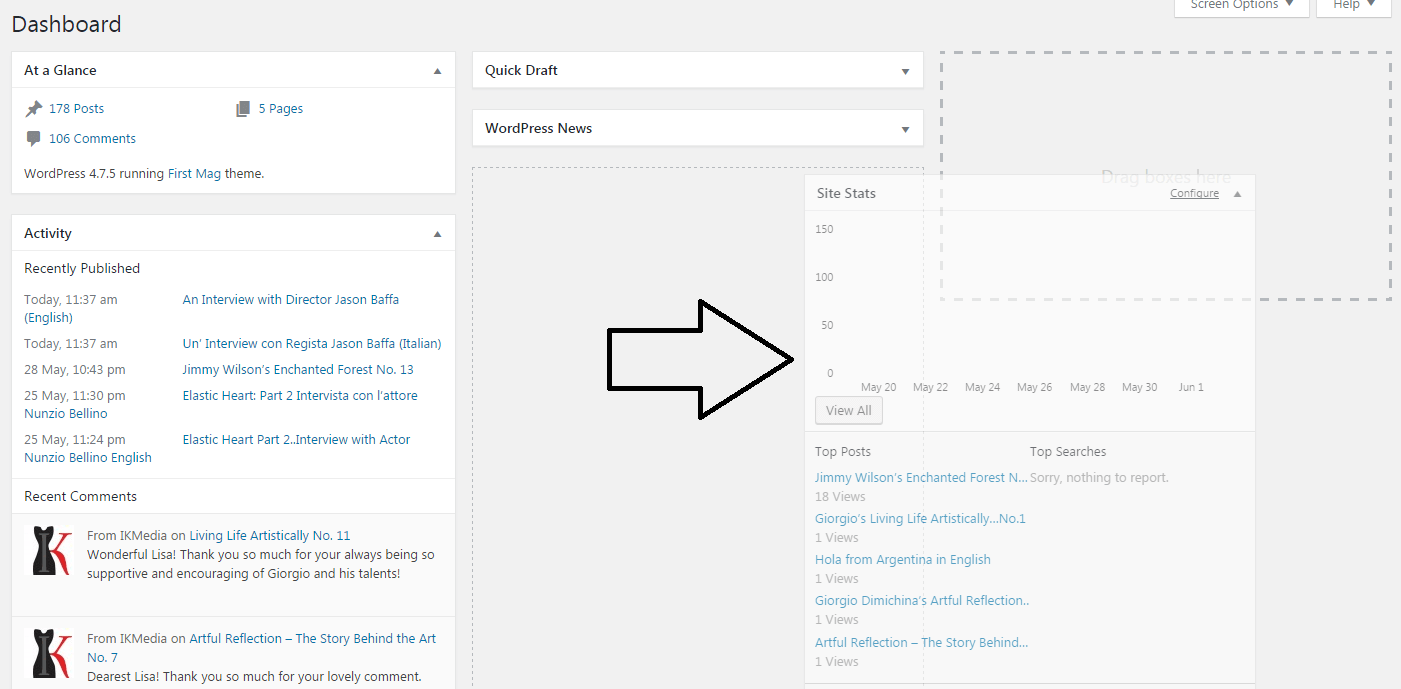
Once you enable every widget you want to see on the Dashboard, you can place them in different columns on the Dashboard. Generally, you will see the Dashboard has three columns.
To move one widget from one column to the other, just drag them by their heading and place them under the widgets in the column where you want them to be. Then, you can move them up and down as per your requirement.
It is important to note that the changes you are making will not be visible when other users log into your website. You can change their settings as per their requirement.
How To Customize The WordPress Dashboard For Multi-Users –
We stated earlier that you cannot make a universal change with the usual options provided by WordPress. But there could be a situation when you would want to control what your users and subscribers see on the Dashboard and how exactly they see it.
For that, you would require installing a few plugins. To install those plugins, you have to go to your Dashboard, and on the left menu, you will find the option Plugins.
Place your mouse pointer on that, and a drop-down will appear. Click on Add New button and in the new screen, search for the plugins and Install and Activate them.
Force Admin Color Scheme
We all are used to the grayish color of WordPress. Some people hate it as it represents depression. To change it, you can go to your Dashboard and to the Users menu option on the left menu and click on the option Your Profile.
You will see that various limited color options are available. If you are not satisfied with them, you can go for the plugin Admin Color Scheme and search, install and activate it.
There are so many color schemes available that will captivate your mind. It will surely make your Dashboard a better place to be it.
Admin Menu Editor
Sometimes, you will feel that some of the menu options should have been placed higher because they are required so often. With Admin Menu Editor plugin, you can literally do that.
You can reorder the position of the menu options and even disable certain options so that you do not click on them by mistake.
It provides you option to drag and drop and even change menu titles and icons. The plugin is quite popular with 2 lakh downloads and high rating.
Adminize
If you have editors and authors, you can restrict the way they see their dashboard and menu options. When your website starts getting popularity, a lot of malicious competitors and hackers would like to be an editor or writer for your website only to ruin you.
Therefore, you need to restrict a few things like what they will see on the Dashboard or the menu and submenu options they will see. For that, you need to install and Activate Adminize.
You can literally customize the Dashboard for your editors who generally have certain extra powers, and you can deactivate certain menu options through which a hacker under the disguise of an editor could do harm to your website.
Hide Admin Notices
If you have subscribers or general users, there is no need of showing a Dashboard to them and other useful options like Screen Options.
It helps to maintain the authority and most importantly, if the user ID and password falls into the wrong hands, not much damage can be done.
To do that, you have to install either of these plugins, and once you activate them, you will see options to disable Dashboard, and other options so that the next time any user or subscriber login into your website, they do not get to see them or tweak them.
Dashboard Notes
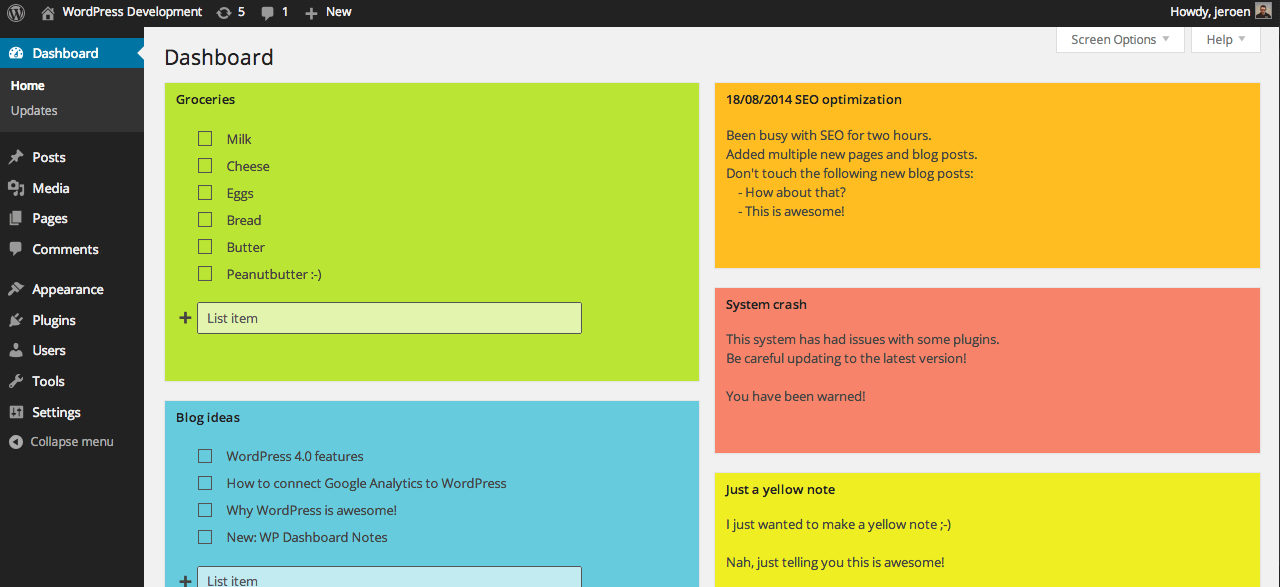
This is an awesome plugin you must install and activate if you work with multiple authors on your WordPress website. With its help, you can notify your users about anything, and you can set customized colors for the notifications to appear on their dashboard.
You can even set reminders for different tasks and include images as well for getting attention at once.
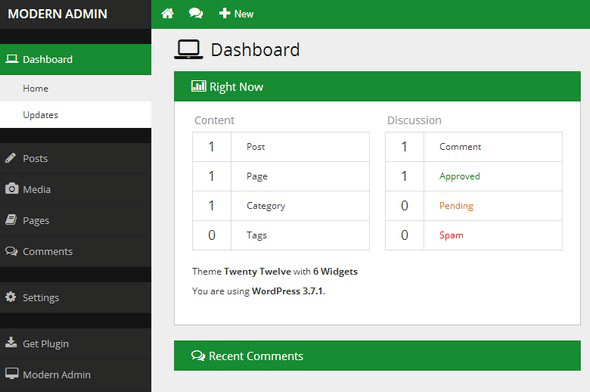
Admin Theme
If you have a premium WordPress theme, you can contact the provider of the theme and install a compatible Admin theme or skin. These skins have amazing features and options to customize the WordPress Dashboard the way you want to.

