Why Images Lose Quality When Enlarged?
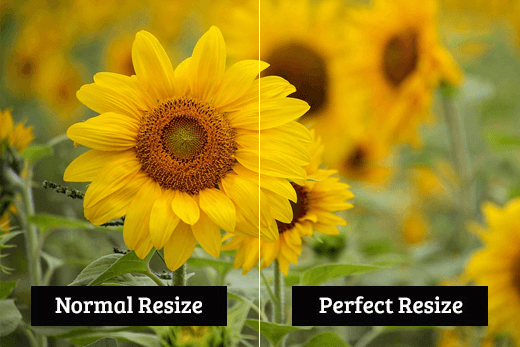
Most of the time, you can see that enlarging or re-sizing the image is ruining the quality of the image. As it gets larger, it loses the sharpness in the details and becomes a bit blurry. But why does it happen?
Table of Contents
Well, the resizing of an image either shrinks or enlarges the pixels present in the image.
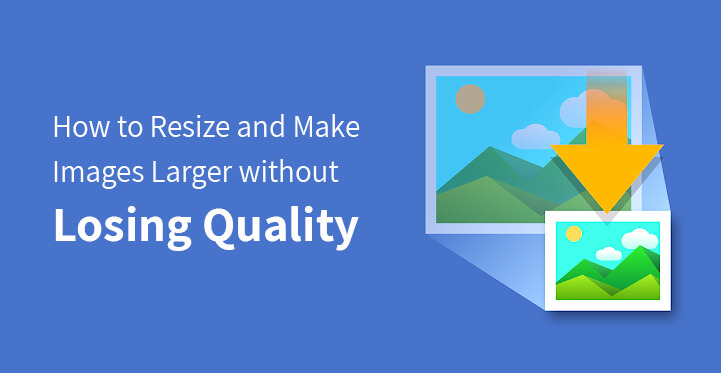
As the pixels get affected, it makes the photo less visible.

Whenever you enlarge the visibility and the mapping of the image becomes better pronounced. The blurriness of the picture is referred to as the pixelated one.
The bitmap is the most common format which most of the web images use. The JPEG and PNG files are basically Bitmap image files.
It usually contains thousands of pixels. Zooming them can show you the pixels are in the shape of squares. Each pixel in the image is meant to be mapped for the particular location in the image.
So, whenever you resize the image to make it large, the enlarged pixels tend to become more visible, which hampers the good and detailed quality of the image.
What’s the Solution to make images larger without losing quality?
The most anticipated solution for restoring the picture quality is to fill in the gaps for each of the pixels which are getting enlarged.
Doing the compensation helps with the better matching of the properties present in the pixels. This pixel matching and filling process are known as the Fractal interpolation or Fractals, which helps in the betterment of picture quality.
There exist several methods that you can use to incorporate the technique Interpolation of Fractals.
This method enhances the quality of the picture when the picture is enlarged. How can you use the Fractal Interpolation technique? Here are the various methods:
Method 1: Using Perfect Resize with Adobe Photoshop for picture quality restoring:
You can easily use this method to make images larger without losing quality. The Perfect Resize is a software that comes with the functionalities to resize your image easily.
This is stand-alone software. At the same time, it works as a plugin for adobe photoshop.
The basic version of this software comes for $50, while the premium version of the Adobe Photoshop Plugin comes with a $150 rate.
You can also opt for the 30 days’ trial of these versions. If you want to use this software for image resizing regularly, then you have to follow a few simple steps.
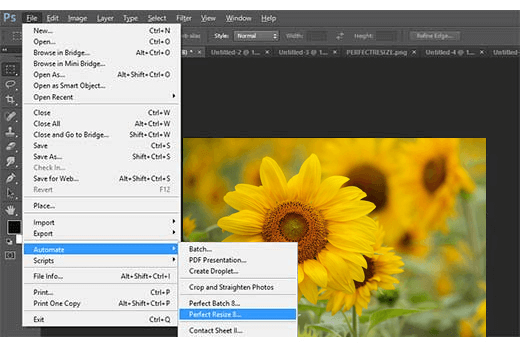
Step 1: Install the software on your device. After installing, open the image file that you want to resize using this software. Go to File >> Automate and click on the Perfect Resize from your desktop.
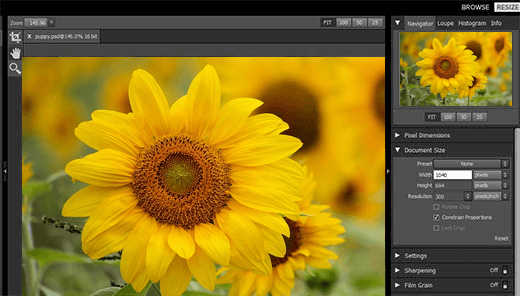
Step 2: Once the image is opened with the Perfect Size application, start with picking the preset using the left side menu. You need to enter your own document size.
Step 3: As you are done entering the document size, click on File> Apply to save the changes that you have made and apply them to the file in the Photoshop area. Now you need to export this file after saving it as a web image.
Method 2: Resizing with the free software Gimp:
If you are not ready to pay for a premium plan for your photo resizing, then you can use this free software to retain the good quality of the photo. There are a few simple steps that you need to follow while picking Gimp as your image editor. Here are the steps:
Step 1: Start with opening the image and go to image> Scale image.
Step 2: Now, you need to enter the dimension that you want for your image. From the Quality Section, go to Sinc (Lanczos3) for the Fractal method and click on the Scale image button.
Step 3: Your picture is ready to export for the web. Export the image to save it on your device.
Method 3: Retain the quality of your resized picture using Irfanview:
Irfanview comes as a photo editing program, which you can get from the Windows-based operating system. Resizing your image is quite easy using the Irfanview. How do you do it? have a look:
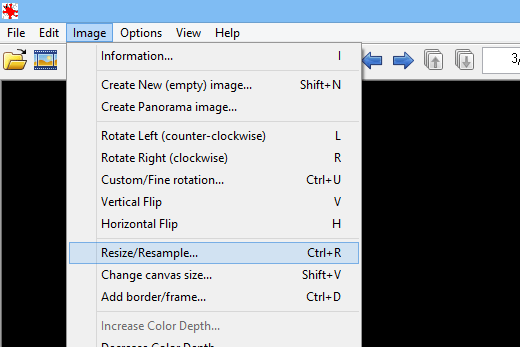
Step 1: Open your image using the Irfan view and go to Image > Resize/ resample.
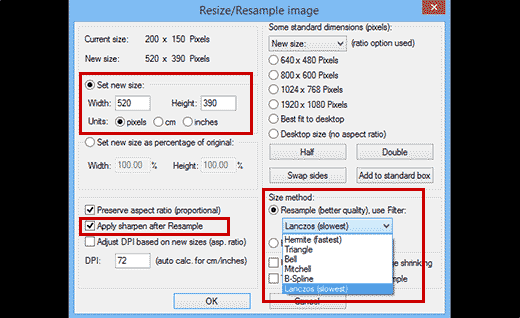
Step 2: Entire the image dimension that you want from the resize pop- up window. Enter the size and click on the Set Image Size. You need to select the resample from the Size Method.
Step 3: From the menu for filter drop-down, pick the Lanczos (slowest). Check on the Apply Sharpen After Resample button.
Irfanview is now going to resize the image that you can save on your desktop.
If you are using an image rich website or blog, then it’s important to find ways to resize and make images larger without losing quality.
Taking care of the proper and high quality display of your website imagery has to do not only with perfect client visual experience, but also with enhanced SEO results.
Google does not conceal the fact that it actually loves images on the websites, especially if they are well optimized, formatted and eye pleasing.
However, search engines don’t see your images but take into account their right size, quality, responsiveness and other characteristic features.
Hence, whether it’s about to compress large images to prevent your site’s performance from getting slower or resize and make images larger without losing quality, any website owner should use possible trickeries to solve all kinds of image related issues.
It will make your site much more compelling and your imagery will be in harmony with the overall look of your site without making the site heavier or displaying distorted or pixelated images.
You have probably tried to enlarge images and then it became somewhat blurry or amateurish. The thing is that all the JPEG and PNG images we are using on the websites are Bitmap image files.
Those images have pixel dimensions which are almost invisible from a normal viewing distance, but if you try to zoom an image, those pixels become visible in the form of squares.
And whenever you are resizing those Bitmap images to make them larger, the pixels are not only extended, but new blank ones are added to the image for enlarging. As a result, you are having a new version of your original image, that is larger, but of lower quality.
So how can you overcome this problem to resize and make images larger without losing quality?
The best solution is relying on fractal based image enlargement technique which compensates for the enlarged pixel.
This technique is called Fractal Interpolation or Fractals and makes it possible to upscale and enlarge your images in the most accurate ways. Subsequently, you need to find a solution based on this fractal image enlargement functionality.
ON1 Resize:
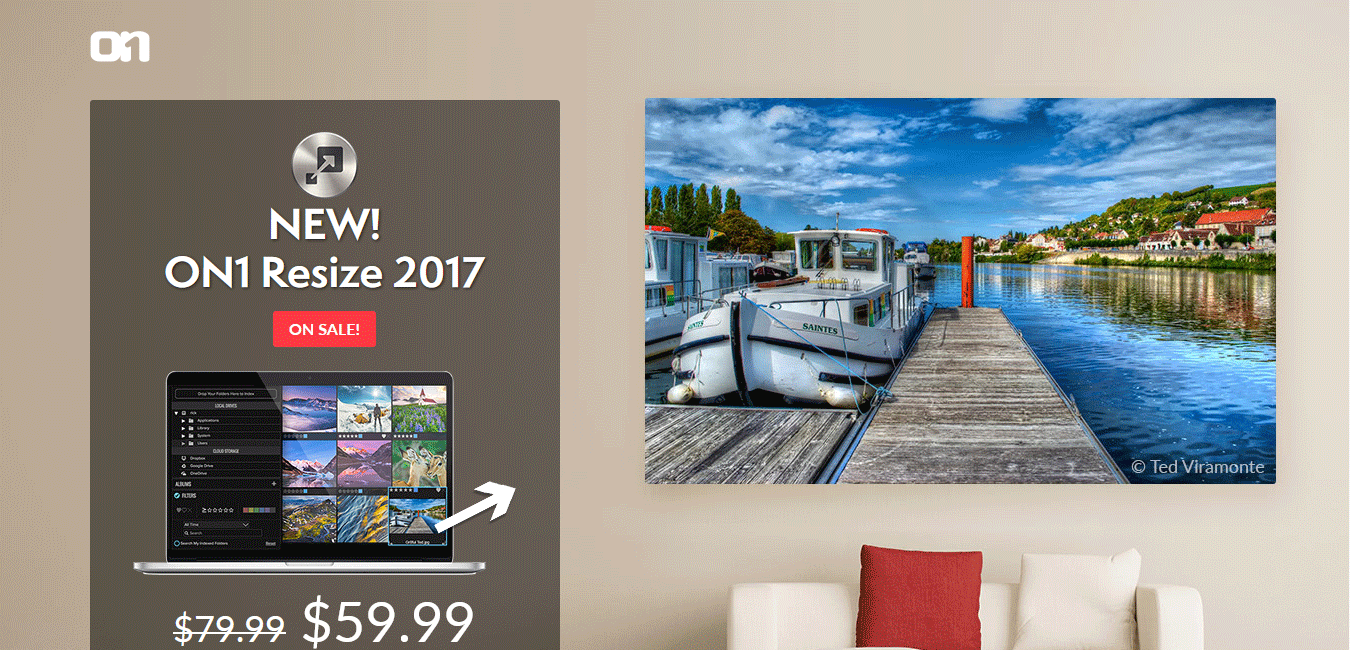
One1 Resize is one of the fastest and feature rich image management and enlargement applications you can use for optimizing the images before adding them to your WordPress website.
Color and detail focused, this ON1 Resize is represented as an open system tool meaning you can access your images and photos no matter where they are stored, on your PC, in the network or some third party cloud based service.
It means you are free as in freedom to resize and make images larger without losing quality from anywhere you are at the given moment.
Genuine Fractals (as discussed above) industry standards are at the core of this application ready to work as a standalone solution for your images as well as work as a plugin for Photoshop and Lightroom.
You can get maximum results with this product while enlarging your image size and keeping its sharpness and precision at the same time.
ON1 Resize is available for Windows and Mac users and grants its users with free technical support as well.
Photo Maximizer:
The next valuable image solution you can test and try to make images larger without losing quality is called Photo Maximizer.
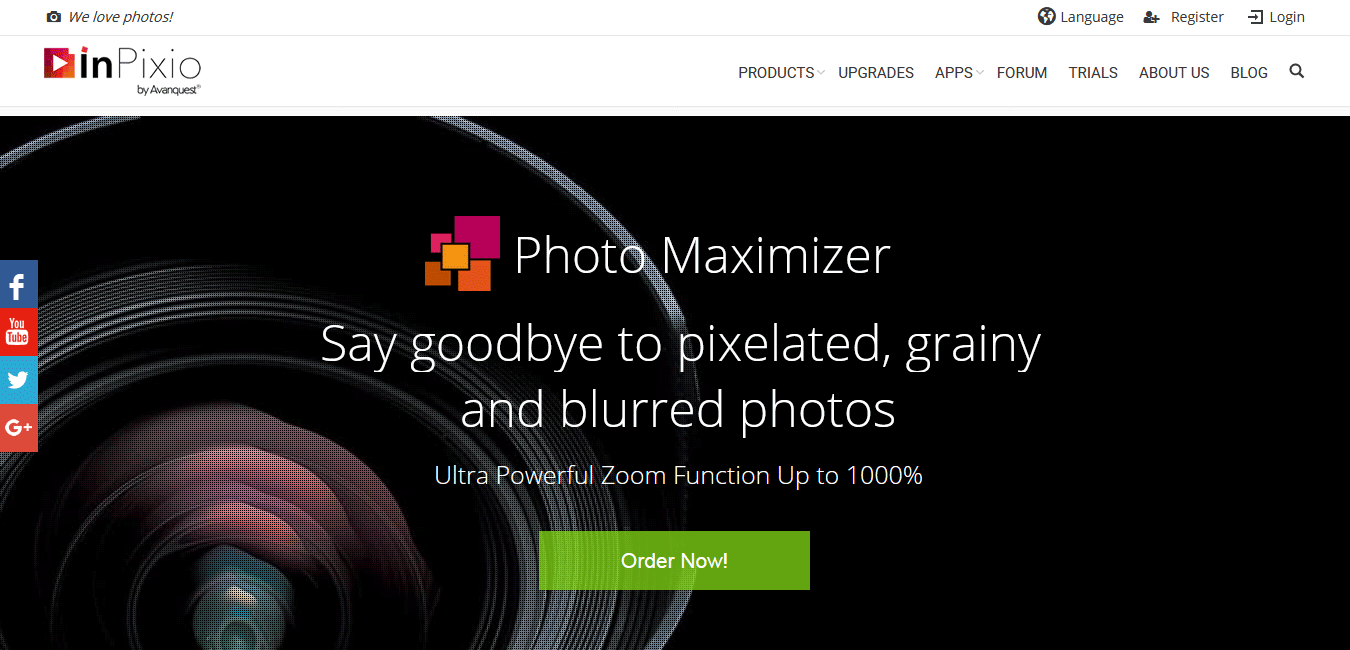
What this premium quality product actually does is concentrating on small details of images and making them larger without any pixilation or blurriness.
Whether you want to enlarge small image or zoom in on a certain area of a photograph or some distant subject on the image, Photo Maximizer makes it possible for you to keep the presentable look and quality, sharpness and pixel free clarity of your imagery.
Gimp:
Enlarging an image always means “trading” quality for size at least to some extent. Still, there are software and online programs doing a pretty job in making images larger and keeping their quality or resulting only slight quality losses.
Gimp is such image editor software you can use to manage your site’s imagery enlargement. It is not as good as, say, Photoshop or ON1 Resize, but it is free!
The needed Interpolation method integrated with Gimp is what going to make images larger without losing quality or with minimum quality losses.
All you need to do is to open the image to be upscaled or enlarged with Gimp, go to Image, Scale Image, add the required dimensions, then scroll down to Quality part and set Sinc (Lanczos3) as Interpolation method. Once you are done with this part, click on Scale button.
Now you can export the processed image for adding to your website.
IrfanView:
The next sophisticated tool enabling you to get your image related enlargement job done with minimum quality touches is known as IrfanView. This smart and compacted image editor is designed to be simple and affordable, yet powerful in usage.
Using IrfanView is as simple as Gimp. Simply open your image with this editor and go to Image, Resize/Resample. An image resize popup window will soon appear.
Here you can set new size with width and height, select size method as Resample (better quality) and use Lanczos (slowest) as a filter. Further, select “Apply sharpen after resample” and you are done!
This editor is designed only for Windows users. Hence if you are using Windows as an operating system, you are welcome to make images larger without losing quality with IrfanView.
PhotoZoom:
Get high quality photo and image enlargements with PhotoZoom. This world class technology based software wonderfully keeps the image quality in case of enlargements up to 300.000×300.000 pixels.
Moreover, PhotoZoom goes beyond keeping the high quality of images while enlarging them, but also makes poor quality images look pin-sharp. Also in today’s digital era having lots of option such as canvas photo prints. One of the best cheap canvas photo & picture prints wallpics.
Hence, it’s a perfect tool for processing and optimizing Internet images and then use them on your WordPress based or any other digital profile.


